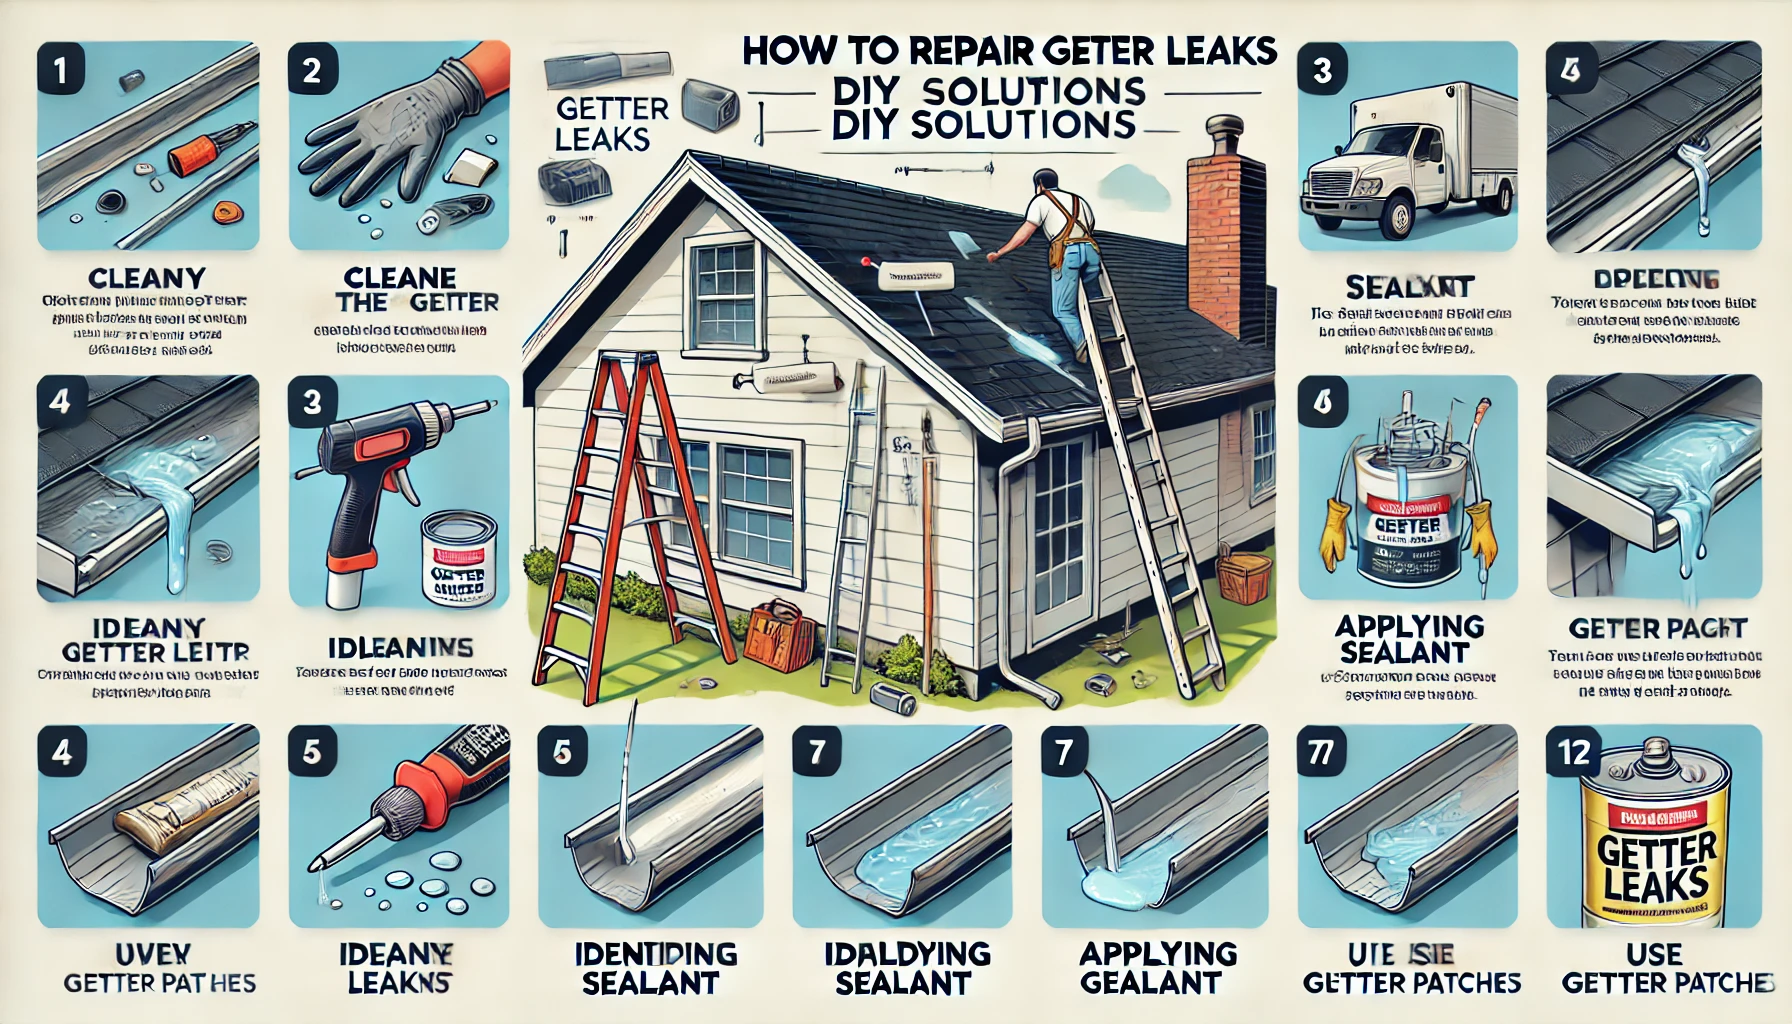
Gutters are essential for maintaining your home’s integrity by directing rainwater away from the foundation. However, gutter leaks can compromise this function, leading to potential water damage. In this article, we’ll cover how to repair gutter leaks using DIY solutions. Our guide is designed to help you understand the process, tools needed, and tips to ensure a seamless repair.
Understanding the Importance of Gutters
Before diving into the repair process, it’s crucial to understand why gutters are so important. Gutters prevent water from pooling around your home’s foundation, which can cause erosion, flooding, and even structural damage. Keeping your gutters in good shape is essential to protect your home from these issues.
Identifying Gutter Leaks
Signs of Gutter Leaks
To repair gutter leaks, you first need to identify where the leaks are coming from. Look for these common signs:
- Water stains or marks on the siding of your house.
- Pooled water around the foundation after a rainstorm.
- Visible cracks or holes in the gutters.
- Rust spots or corrosion on metal gutters.
- Sagging gutters that might be pulling away from the house.
Tools You’ll Need
Before you start the repair, gather the following tools and materials:
- Ladder
- Work gloves
- Safety glasses
- Garden hose
- Gutter sealant or silicone caulk
- Wire brush
- Putty knife
- Gutter patch kit (if needed)
- Paint (optional, for touch-ups)
DIY Gutter Leak Repair Steps
Step 1: Safety First
Safety should always be your top priority. Ensure your ladder is on stable ground and that you have a spotter if possible. Wear gloves to protect your hands and safety glasses to shield your eyes from debris.
Step 2: Clean the Gutters
Start by cleaning out any debris in your gutters. Use a garden hose to flush out leaves, twigs, and dirt. A clean gutter will make it easier to spot and repair leaks.
Step 3: Inspect for Damage
Carefully inspect your gutters for any visible damage. Use a garden hose to run water through the gutters and watch for leaks. Mark the areas where you see water escaping.
Step 4: Prepare the Leaky Area
Use a wire brush to clean around the leak. Remove any rust, dirt, or old sealant. This will help the new sealant adhere better. For larger holes, use a putty knife to smooth out the edges.
Step 5: Apply Gutter Sealant
Apply a generous amount of gutter sealant or silicone caulk around the leak. Make sure to cover the entire area and smooth it out with your putty knife. Allow the sealant to dry according to the manufacturer’s instructions.
Step 6: Patch Larger Holes
If you have larger holes or significant damage, use a gutter patch kit. Follow the instructions provided with the kit to cut and apply the patch. Ensure it covers the hole completely and is securely attached.
Step 7: Test Your Repair
After the sealant or patch has dried, test your repair by running water through the gutters again. Check for any remaining leaks and reapply sealant if necessary.
Step 8: Paint Touch-Up
If your gutters are painted, you may need to touch up the repaired area with matching paint. This will help protect the repair and keep your gutters looking good.
Preventing Future Gutter Leaks
Regular Maintenance
One of the best ways to prevent gutter leaks is through regular maintenance. Clean your gutters at least twice a year and inspect them for signs of damage.
Install Gutter Guards
Gutter guards can help keep debris out of your gutters, reducing the likelihood of clogs and leaks. There are various types of gutter guards available, so choose one that fits your needs and budget.
Ensure Proper Slope
Gutters should have a slight slope towards the downspouts to ensure proper water flow. If your gutters are not sloped correctly, water can pool and cause leaks. Adjust the hangers to achieve the correct slope.
Repair Loose Gutters
Loose gutters can pull away from the house, causing leaks at the seams. Check the gutter hangers and screws to ensure they are secure. Tighten any loose screws and replace damaged hangers as needed.
Common Gutter Leak Problems and Solutions
Leaking Joints
Joints between gutter sections can be prone to leaks. To repair, clean the joint area thoroughly and apply a waterproof gutter sealant. For older gutters, consider replacing the joint connectors.
Holes and Cracks
Small holes and cracks can be sealed with gutter sealant. For larger holes, use a patch kit. Ensure the area is clean and dry before applying the sealant or patch.
Sagging Gutters
Sagging gutters can cause water to pool and overflow. To fix this, check the gutter hangers and adjust or replace them to provide proper support.
Downspout Issues
Clogged or damaged downspouts can cause water to back up and leak from the gutters. Clear any clogs and inspect the downspouts for damage. Replace damaged sections as needed.
Ensuring Long-Lasting Repairs
When repairing gutter leaks, using high-quality materials and following proper techniques ensures long-lasting results. Regular maintenance and timely repairs not only protect your home but also save you money in the long run. By addressing issues promptly, you can prevent small problems from becoming major repairs.
Conclusion
Repairing gutter leaks is a manageable DIY task that can save you money and protect your home from water damage. By following the steps outlined in this guide, you can effectively identify and repair leaks, ensuring your gutters function properly. Regular maintenance and preventive measures will keep your gutters in top condition, providing peace of mind and long-term protection for your home.
Informative List of Key Tips:
- Always prioritize safety when working on ladders.
- Clean gutters thoroughly before inspecting for leaks.
- Use high-quality sealant for long-lasting repairs.
- Patch larger holes with a gutter patch kit.
- Test your repairs to ensure no leaks remain.
- Regular maintenance prevents future leaks.
- Consider installing gutter guards for added protection.
- Ensure gutters have the proper slope towards downspouts.
- Repair loose gutters to avoid leaks of seams.
- Address downspout issues promptly to maintain an appropriate water flow.
By understanding how to repair gutter leaks and implementing these DIY solutions, you’ll keep your home safe from water damage and ensure your gutters remain in excellent condition. Happy repairing!

